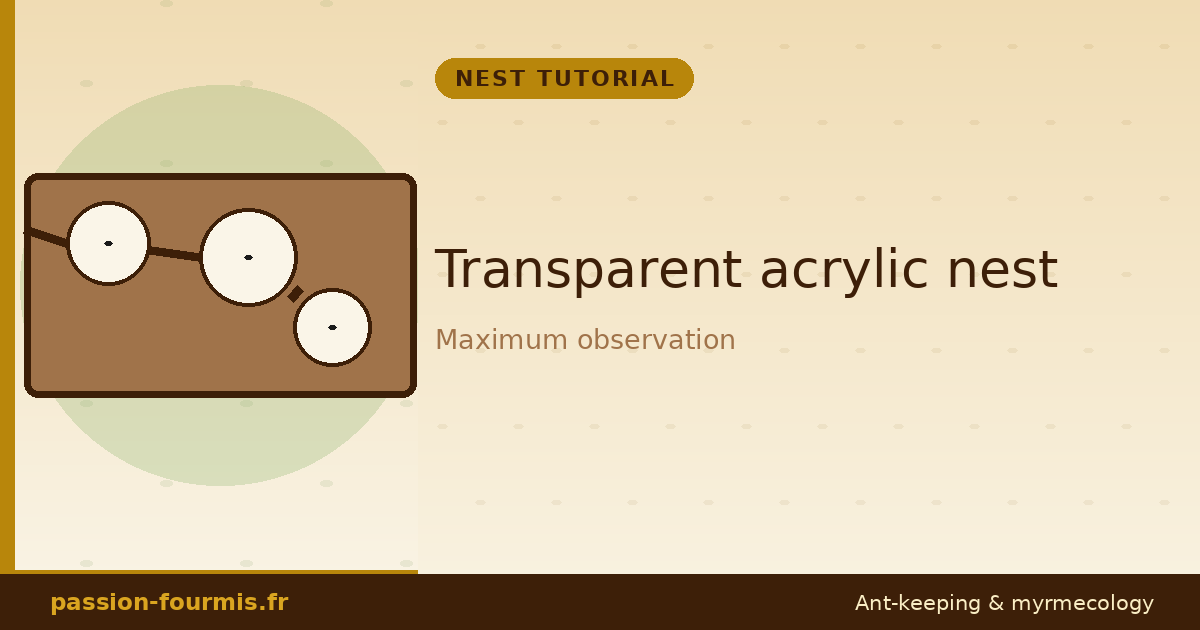
The transparent acrylic nest is the premium option for observing a colony. All the inner life becomes visible, which makes it ideal for observation enthusiasts, teachers or demonstrations.
Pros and limits
- ✅ Perfect observation at any time
- ✅ A clean, modern look
- ✅ Easy cleaning
- ❌ Waterproof: no natural humidification, it must be managed separately
- ❌ Prone to scratches
- ❌ More expensive than plaster or Ytong
The “sandwich” design
An acrylic nest is built from 3 glued layers:
- A back acrylic sheet (3-5 mm thick)
- A middle sheet cut out in the shape of the chambers (5-8 mm thick)
- A transparent top sheet (3 mm thick)
The chambers and galleries are the voids cut into the middle sheet.
What you need
- Acrylic sheet 20×15 cm (for back and top, 2 pieces)
- A 6 mm thick acrylic sheet for the middle layer
- Cutting tools: a craft knife, Dremel, or precision saw
- Acrylic glue (diluted chloroform or special plexi glue)
- Fine sandpaper
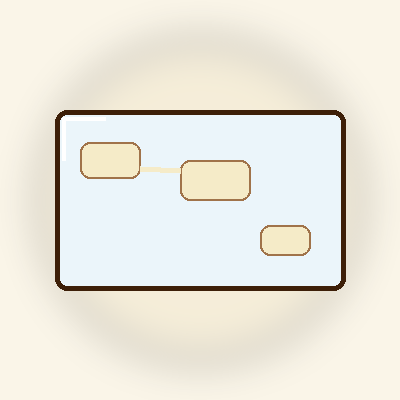
Transparent acrylic sheets 5mm
A format suited to building ant nests. Easy to cut with a craft knife or Dremel.
Step 1: design on paper
Draw your nest at 1:1 scale on paper. Be precise: chambers, galleries, position of the entrance and the humidity reservoir. This plan will serve as your cutting template.
Step 2: cutting the middle sheet
Trace the plan onto the middle sheet. Cut out the chambers and galleries with the craft knife (multiple passes) or the Dremel. Be patient, acrylic heats up and warps if you go too fast.
Then sand the inner edges to remove burrs and smooth the passages.
Step 3: the humidification chamber
Set aside a dedicated humidification chamber, larger than the others. It will be lined with wet cotton or sponge that supplies humidity to the other chambers by evaporation.
Unlike plaster or Ytong, acrylic is completely waterproof. Humidity must be generated inside the nest via a dedicated chamber lined with wet cotton or sponge. Regular monitoring is essential.
Step 4: gluing the 3 sheets
Glue the middle sheet between the two solid sheets using the special acrylic glue. Apply sparingly so glue doesn’t run into the chambers. Press and let dry 24h.
Step 5: entrance and finishing
Drill an 8-10 mm hole for the connection tube to the outworld. Sand all the outer edges for safety.
Step 6: test before introduction
Run water into the humidification chamber and observe: the glue must hold, the chambers must stay dry. Leave it 48h on an empty test before introducing the colony.
Acrylic glue gives off fumes that are toxic to ants. Let the nest air out for 1 to 2 weeks before introducing the colony. Better to wait than to kill a whole colony.
Ready-made alternatives
If building one seems complex, ready-made acrylic nests are available commercially, from £30-50 / $40-60 for standard sizes. It’s the recommended option for those who want to avoid DIY.
Ready-to-use acrylic nest
For those who don't want to DIY: a moulded transparent acrylic nest, with chambers, galleries and an outworld entrance.
Leave a Reply