
Aerated concrete (Ytong, Siporex, Hebel brands) has in a few years become THE favourite material of amateur myrmecologists. Light, easy to carve, an excellent thermal and moisture insulator, it’s the all-round option par excellence.
Why Ytong
- Very easy to carve: a knife or spoon is enough
- Holds humidity 2 to 3 times better than plaster
- Insulates thermally: no temperature shocks
- Light: easy to handle and move
- Cheap: a 60×20×7 cm block costs around £6-10 / $8-12 at a DIY store
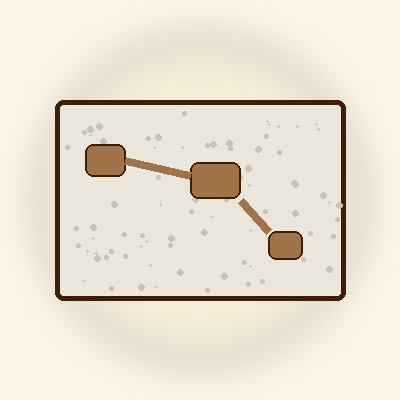
Ytong block 60x20x7cm
The standard block to make 2-3 nests depending on size. The go-to material of amateur myrmecology.
What you need
- 1 Ytong block (7 cm thick minimum)
- A handsaw (Ytong cuts easily)
- A fixed-blade knife
- A metal spoon
- Fine sandpaper
- A pane of glass or plexi cut to the nest’s size (for the lid)
- A glue gun or silicone (to fix the pane)
Step 1: cut the Ytong to the desired size
Saw a block of about 20×15 cm (a size suited to a colony of 200-1000 workers). For humidity-loving species, go thicker (10 cm).
Step 2: mark out the chambers
With a pencil, draw the chambers and galleries you want to create on the smooth surface. A few rules:
- 3 to 6 chambers depending on nest size
- Different sizes: large for brood, small for stores
- Galleries 5 to 10 mm wide
- A wet zone near one side where you’ll drill the reservoir
Step 3: carve
With the knife, first cut the outlines of the chambers (1-1.5 cm deep). Then scoop out the inside with the spoon. Ytong is very soft, so it goes quickly. Work over a sheet: there is a lot of dust.
Ytong dust is fine and irritating. Wear a mask while carving and work in a ventilated area or outdoors. Vacuum the residue regularly.
Step 4: carve the humidification reservoir
On the side of the block, drill a hole 15-20 mm in diameter and 3-4 cm deep. This will be the water reservoir, connected to the wet zone of the nest by natural capillary action.
Step 5: clean and rinse
Vacuum up all the dust thoroughly. Rinse the block under clean water 2-3 times to remove residue. Let it dry for 24h.
Step 6: fitting the pane
Place the pane on top and fix it with a bead of silicone all around (except at the entrance). Let it dry 24h. You can also use a removable plastic frame if you want to be able to clean it.
Step 7: connecting to the outworld
On one side, drill an 8-10 mm hole to run a connection hose to the outworld. Connect it and use mounting putty to seal it.
You can paint the outside of the nest with earth-brown acrylic paint for a more natural finish. Avoid blue or bright colours that could stress the ants (beyond the glass, they see little anyway).
Maintenance
Pour 5-10 ml of water into the reservoir once every 2-3 weeks. Ytong diffuses the humidity gradually. Watch for mould (rare with this material).
Leave a Reply