
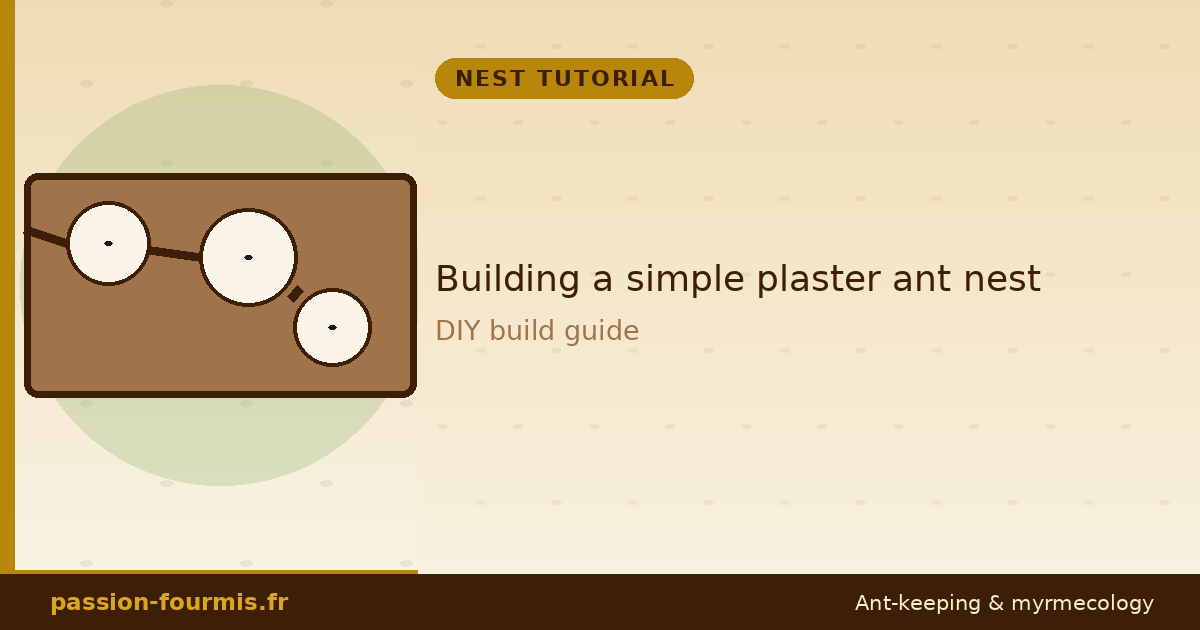
The plaster nest is one of the classics of myrmecology. Cheap and easy to make, it holds humidity well and suits the vast majority of species. Here’s how to make one in a few hours.
What you need
- Plaster of Paris (1 kg is enough for 2-3 nests)
- Casting container: a plastic box 15×10×3 cm
- A pane of glass or plexi 15×10 cm (transparent lid)
- Modelling clay or wax to shape the chambers
- Tools: a knife, fine sandpaper
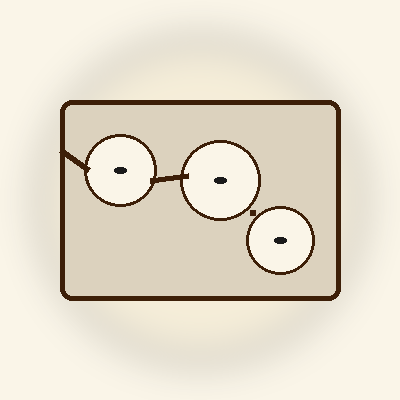
Fine modelling plaster
Plaster of Paris suited to casting ant nests. Fine grain, quick set.
Step 1: model the chambers in clay
In the bottom of the plastic box, shape the future chambers and galleries with modelling clay. Think in 3D: 8-10 mm thick for chambers, 3-5 mm for galleries.
A few principles:
- 3-5 chambers of varying sizes
- Winding galleries to connect the chambers
- An entrance to the outside
- A deeper “wet” zone near the water reservoir
Step 2: prepare the plaster
Mix the plaster with filtered water following the maker’s instructions (typically 2 parts plaster to 1 part water). Stir until you get a smooth, lump-free paste.
Step 3: cast
Gently pour the plaster into the box over the modelling clay. Tap the box to bring air bubbles up. Smooth the surface. Let it set 24 to 48h in a dry place.
Step 4: unmould and clean
Once dry, unmould the plaster block and gently remove all the modelling clay. The chambers and galleries appear.
Important: sand the edges with fine sandpaper to avoid chips.
Before first use, rinse the nest under clean water for several minutes. Fresh plaster can be too alkaline and burn the ants. Soak the nest for 24h in water, then let it dry for a week before use.
Step 5: the protective pane
Cut a pane of glass or plexiglass to the nest’s dimensions. Place it on the plaster to close the chambers while still allowing observation. Use silicone sealant or rubber bands to hold it.
Step 6: humidification
Drill a small hole at the back of the nest (on the wet-zone side) to add water with a syringe. Moistening every 2 weeks is generally enough.
For very humid species, you can add a permanent water reservoir: a sponge box connected to the nest via a cotton wick that transfers water by capillary action.
Pros and cons
- ✅ Very cheap (£5-10 / $7-12 in materials)
- ✅ Excellent humidity retention
- ✅ Fully customisable
- ❌ Fragile to transport (brittle)
- ❌ Can develop mould if very humid
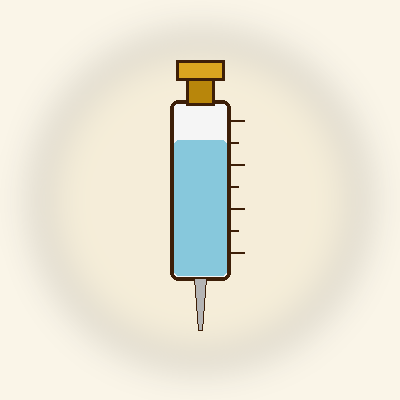
30ml graduated syringe
To moisten your plaster nest precisely without saturating it.
Leave a Reply