
Ant keeping, known as amateur myrmecology, is an accessible hobby but one that requires following a few essential rules from the very start. This guide walks you through it step by step so you make the right choices and start under the best conditions.
1. Choose your first species
Not every species suits beginners. Go for a local, hardy species with a classic cycle that includes hibernation. The top picks for starting out:
- Lasius niger: the black garden ant, ultra hardy
- Messor barbarus: the harvester, no need to feed live insects
- Formica fusca: the silky ant, peaceful and discreet
For a very first colony, choose Lasius niger or Messor barbarus. They are common, easy to find during summer or autumn nuptial flights, and forgive beginner mistakes.
2. The minimum gear to get started
Good news: starting an ant colony costs very little. Here’s the essential gear:
- Glass test tubes (16×150 mm): the founding home
- Untreated cotton wool: for the wet plug
- Foil or black fabric: to darken the tube
- Soft plastic tweezers: to handle without injuring
- Small pot or round box: the future outworld
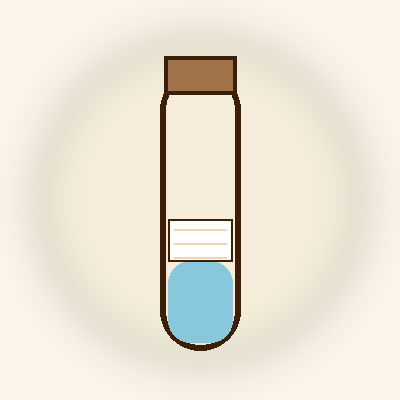
Test tube starter kit
Pack of 10 test tubes 16×150 mm + cotton. The ideal format to found your first Lasius or Messor colony.
3. Find a queen
A queen (gyne) is a freshly mated reproductive ant. She is the one who will found the colony. You can:
- Catch her in the wild during nuptial flights (June-August depending on species). Look after a warm thunderstorm, on the ground, in open spaces.
- Buy her from a keeper or a specialist site (in many countries this is regulated: often only local species can be traded freely).
In many countries, buying and keeping exotic (non-native) ant species is strictly regulated. Favour local species to avoid any legal trouble and to protect ecosystems.
4. The founding phase
Once the queen is settled in her test tube (wet cotton at one end, a dry cotton plug at the other, tube horizontal, in the dark), don’t disturb her for 4 to 8 weeks. Founding is claustral in most species: the queen no longer goes out and lives off her reserves.
During this period, resist the urge to open the tube or “check” on progress. You can briefly observe through the glass once a week, but no more.
5. The first workers
When the first workers (the nanitics) appear, you can start providing food:
- A small drop of sugar water (honey diluted to 10% in water) every 3 days
- A dead fruit fly or a fragment of insect every 5-7 days
Don’t overdo the quantity. A young colony eats very little.
Expect around 30-50 workers by the end of the first year, 200-500 in the second, 1000-2000 in the third. Growth is exponential after that.
6. Preparing for what’s next
Once the colony is established (50+ workers), you’ll need to think about providing a real nest (plaster, Ytong or acrylic) connected to an outworld. But don’t rush this step: changing the environment too early can stress the queen and kill the colony.
See our guides on the test tube, the plaster nest and building an outworld for the next steps.
Leave a Reply